


100% Fresh Milled Sourdough Bread
Your go-to guide for making fresh-milled sourdough bread. Includes printable instructions & bakers schedule

If you haven’t checked out my “Fresh Milled Artisan Sourdough Guide” published in April 2024, you can head over there for more of a deep dive on why milling flour at home is such a nutritional upgrade for your kitchen.
For thirteen years, I’ve been into a weekly rhythm of making sourdough bread for my family, but only for the past 2, have I almost exclusively dedicated myself to milling my own flour. When my husband, Steven, bought me a grain mill five years ago, all of my Little House on the Prairie dreams came true. I had wanted a mill since beginning my sourdough journey and seeing it sitting on my countertop felt like such an upgrade.
I thought it would be as easy as subbing freshly milled flour for the 1000 grams of white flour in my basic sourdough recipe. But boy, was I wrong. After dozens of flat “biscotti loaves”, I didn’t exactly throw in the towel, but settled for a combination of white flour and freshly milled flour for many years.
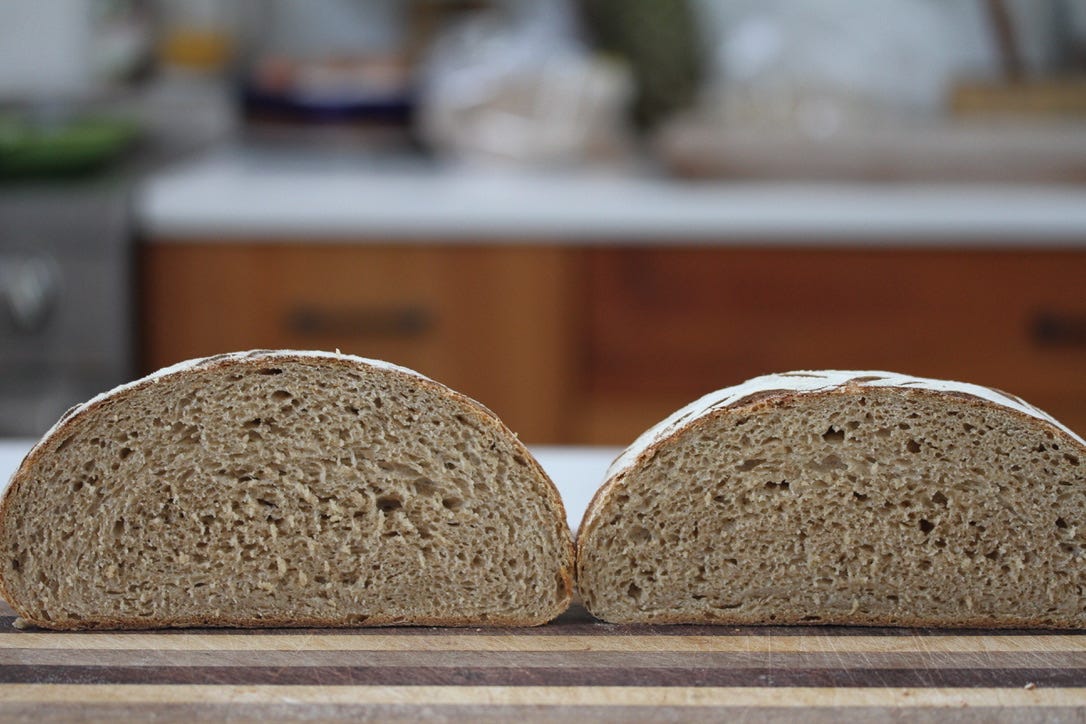
It wasn’t until I taught a freshly milled class about a year and a half ago, and a friend of mine attending the class mentioned her extended bulk proof time (hi Jessica!), that I got the final push I needed to research and experiment beyond what I thought was possible. I was stunned to discover that although the crumb is always more dense, freshly milled sourdough really can develop good oven spring!
The recipe I am sharing today has become our go-to daily bread the past couple years. I’ve adapted a few things since I shared this tutorial last year, and have been so very happy with the simplicity of the process and the beauty (and deliciousness) of the bread.
A few of the changes are:
I tend to leave out the honey
I don’t laminate the dough (unless I feel like it)
I have a new found love for hard red wheat
Sometimes I stretch and fold the dough, sometimes I don’t
I only feed my starter once every 24 hours.
If you tuned into my live fresh milled workshop yesterday, then you already know all of this. I so appreciate those of you who were able to join. It was lovely to connect with you in that way, and I look forward to more online workshops in the coming year. If you missed it, you can head over and watch the replay.

Everyday Fresh Milled Sourdough
My starter feeding method:
20-30 grams of starter
50 grams of room temp water
60-75 grams of fresh milled flour
These numbers are ballpark and do not need to be exact. Feeding your fresh milled starter a slightly higher ratio of flour makes a more stiff, robust starter, which allows you to stretch feedings to once every 24 hours.
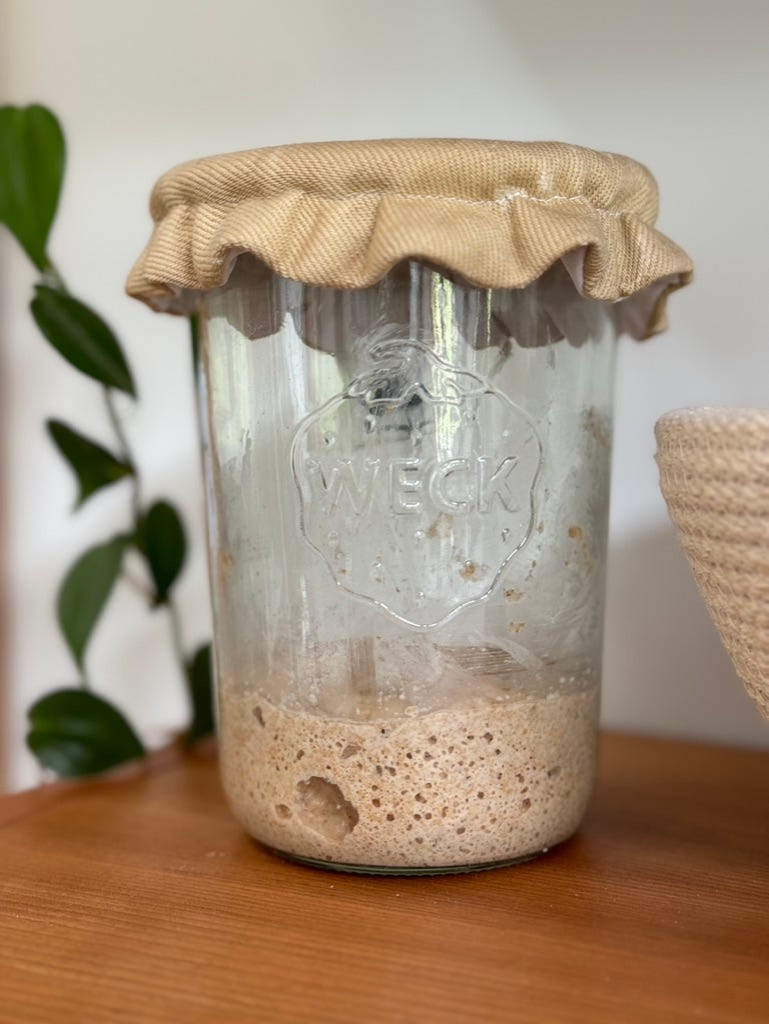
Stir well and cover jar with a cloth cover, like the one pictured below, or a loose fitting lid.
Makes 2 loaves
Step 1: Feed Starter
20 grams starter
50 grams room temperature, filtered water
60 grams flour
Mix well, cover, and let sit at room temperature for 8-12 hours. Starter will have many bubbles and double in the jar when ready.
Step 2: Mix Dough
INGREDIENTS
850 grams room temperature, filtered water
100 grams active sourdough starter
1000 grams freshly milled hard wheat (I like 50/50 hard red and hard white) - set your mill to the finest setting possible
20 grams salt
METHOD
Mill 1000 grams of hard wheat flour.
Place bowl on scale.
Dump flour into bowl and ensure you have 1000 grams.
Add room temp water, sourdough starter, and salt
Knead all ingredients in the bowl for 10 minutes. Dough will be quite sticky, but develop a smoothness around minute 8.
Cover bowl and let sit 30 minutes to rest. But also, if you get distracted doing laundry or dishes and leave it for an hour or two, you are good!
Uncover bowl and stretch and fold the dough 4-6 times. Cover bowl.
Step 3: Bulk Fermentation
Let the dough sit, covered, at room temperature for 9 hours total, stretching and folding the dough every 2 hours.
If you want to leave the dough overnight, stretch and folds are not necessary.
9 hours is the magic number for a 68-70 degree kitchen. In the summertime or with a warmer ambient temperature, it may be closer to 8 hours, and in the winter, or colder temps, closer to 10 hours.
Dough will look puffy and may develop large bubbles on top.
Step 4: Final Shape
Flour two 7” proofing baskets.
With wet hand or dough scraper, loosen the dough from around the edge of the bowl. Turn dough out onto un-floured counter top. Divide the dough in half with your bench scraper.
Gently shape dough into 2 rounds. Lightly flour the top of each round.
Flip both rounds over so that the lightly floured top is on the counter.
Fold the edges in toward the center, using the tackiness of the dough to stick the edges to the middle of the loaf (see photo below.)
Flip each round over and gently drag along the counter to develop a bit of tension
Place loaves in the pre-floured proofing baskets and cover with a cotton or linen kitchen towel, then bees wrap or plastic on top.
Refrigerate loaves for 8-12 hours before baking.
Step 5: Bake
Remember the dutch oven and lid will be extremely hot. Use heat proof gloves when handling.
Preheat oven to 500°F with dutch oven on middle rack for 30 minutes to one hour.
Turn the loaf out of the proofing basket and onto a piece of parchment paper, or a bread mat.
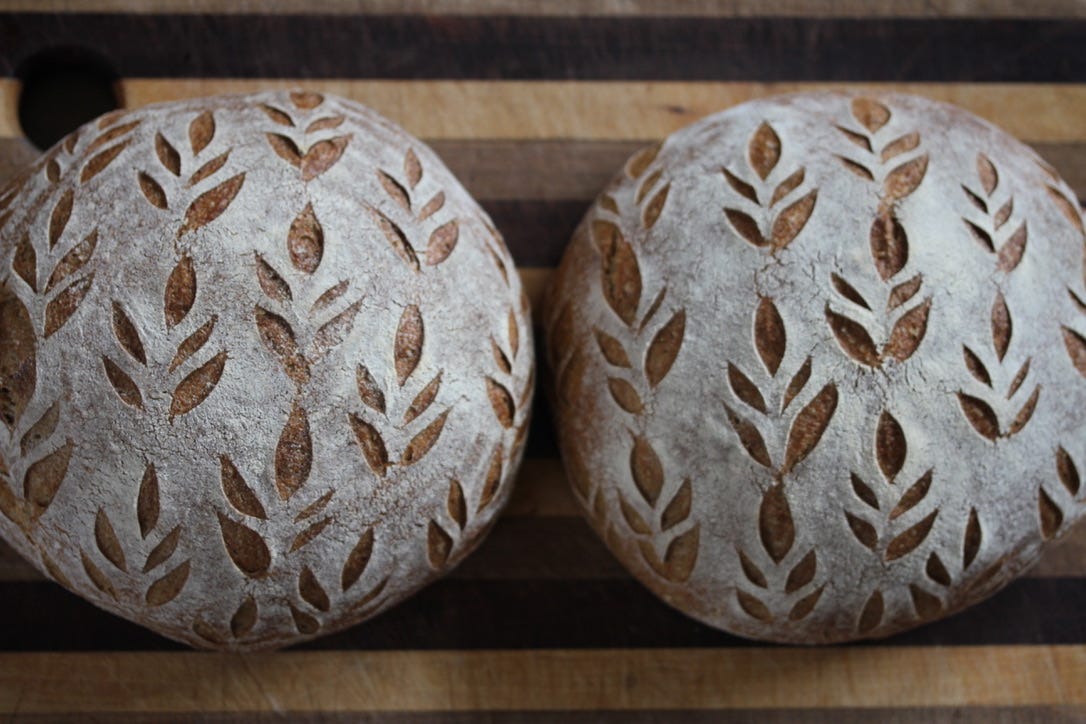
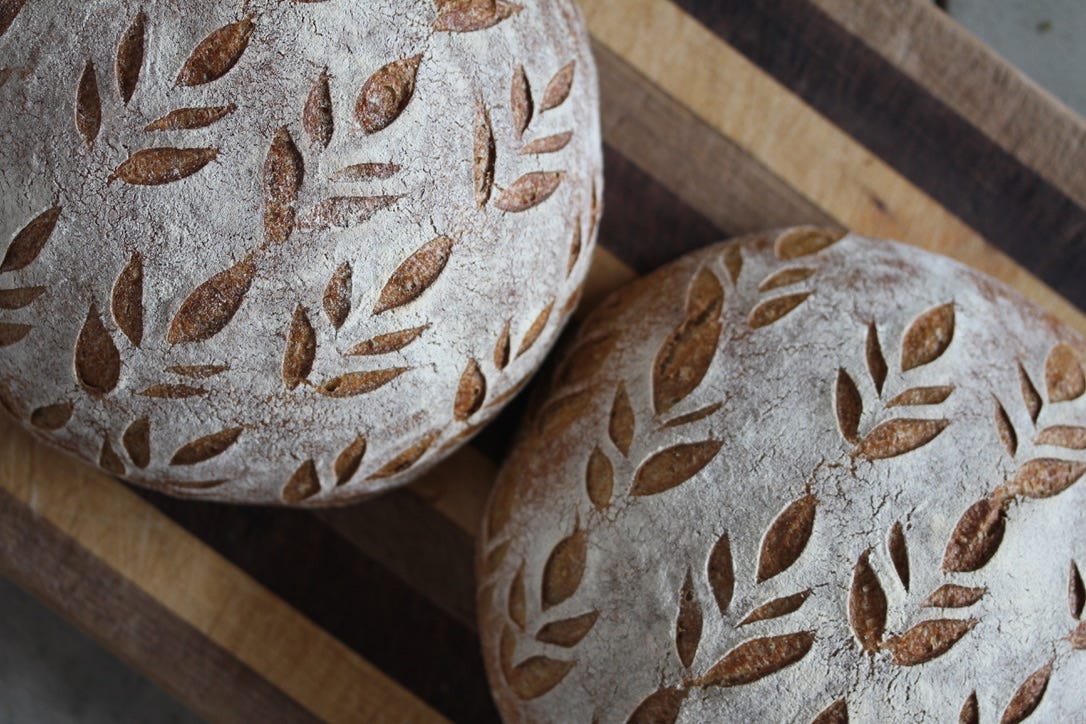
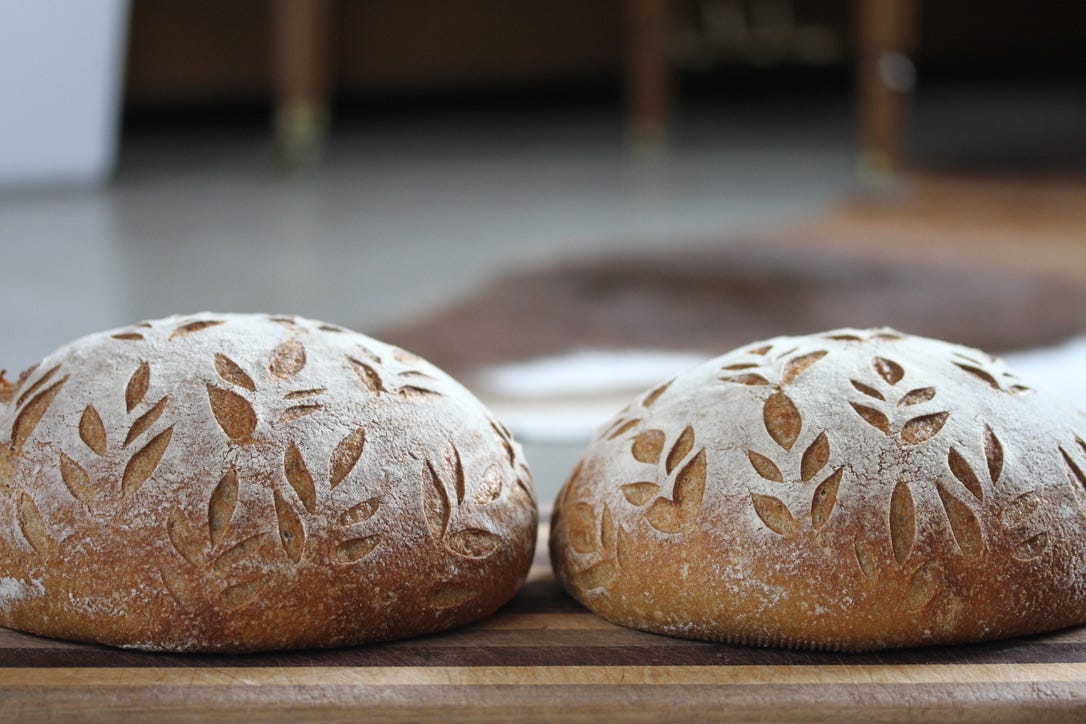
Score loaf with preferred design 1/4 to 1/2 inch deep with a flexible razor.
CAREFULLY lift loaf into hot dutch oven. Set timer for 20 minutes and bake.
Reduce heat by 10-15 degrees, and bake, covered, 15 minutes longer.
Remove lid from loaf and bake an additional 5 minutes, uncovered. Total bake time is 40 minutes.
Remove loaf from dutch oven and cool on a cooling rack for one hour before slicing.
Bread Storage
-A covered cake stand is my favorite for preserving the freshness and softness of the bread.
Bakers Schedules
RESOURCES
MILL
Komo Classic (this is the mill I have and highly recommend)
GRAINS
Azure Standard (my go-to)
Barton Springs Mill (Yecora Rojo and Rouge de Bordeaux are my faves)
SALT
Baja Gold Mineral Salt (my go-to from Azure)
FULL SUPPLY LIST

A few final notes:
When milling flour, only mill enough for the recipe you are making. I do not recommend milling extra, as the longer it sits, even in the fridge, the more the nutrients disappear. After only a few hours, the nutrients degrade pretty significantly.
When baking bread, it almost always makes sense to make two loaves at once. You can always freeze one in a ziplock, or walk it over to a neighbor.
I don’t recommend cold proofing this recipe longer than 24 hours. 10-12 hours in the fridge is when I have the best results for both flavor and oven spring, but feel free to experiment!
Remember, sourdough is a nuanced process, and while the windows of time suggested in the recipe work well for my kitchen, your timeline may vary depending on the grain you are using, the temperature of your kitchen, your sourdough starter’s activity, oven temperature, etc.
Stay curious and enjoy the process!
Feel free to leave a comment or message me with any questions!
This is very helpful and I’m thrilled about no laminating. Haha!
Thanks for this info! Hoping to get our a grain mill in the next few weeks so I can implement this for our family. Always thankful for the wealth of knowledge you have!